

1
إنشاء مثيل VM
أنشئ مثيل VM بالموارد المناسبة. لهذا الدليل،
سنستخدم مثيل 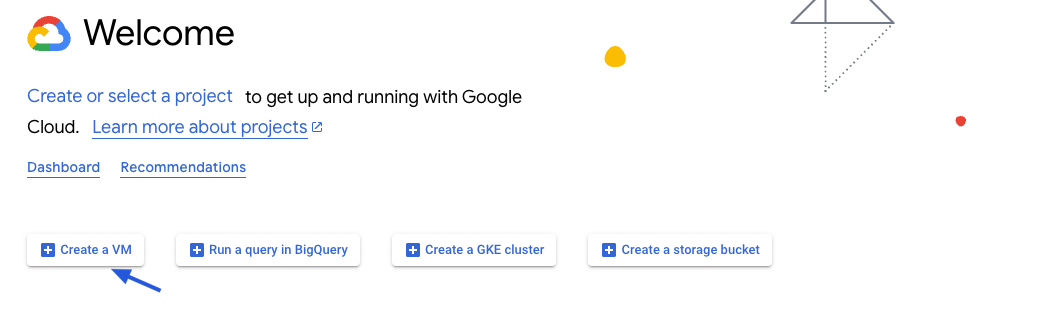
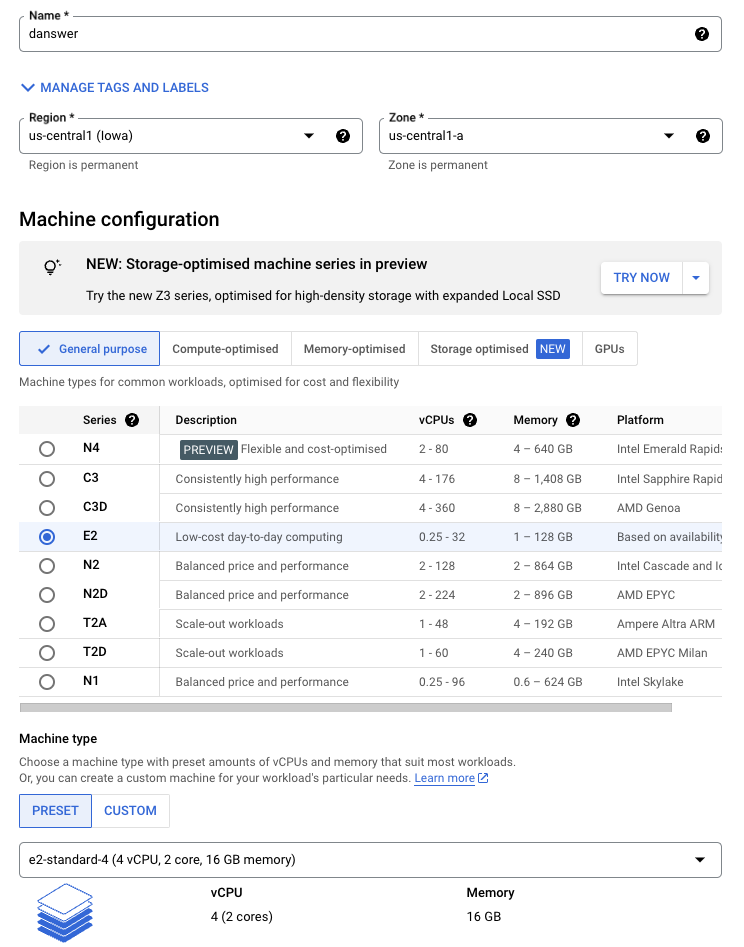
e2-standard-4 الموصى به.اقرأ دليل الموارد لمزيد من التفاصيل.
- أعطِ مثيلك اسمًا وصفياً مثل
gorbit-prod - اختر قرص الإقلاع
Debian GNU/Linux 12 - اختر نوع الجهاز
e2-standard-4 - اختر
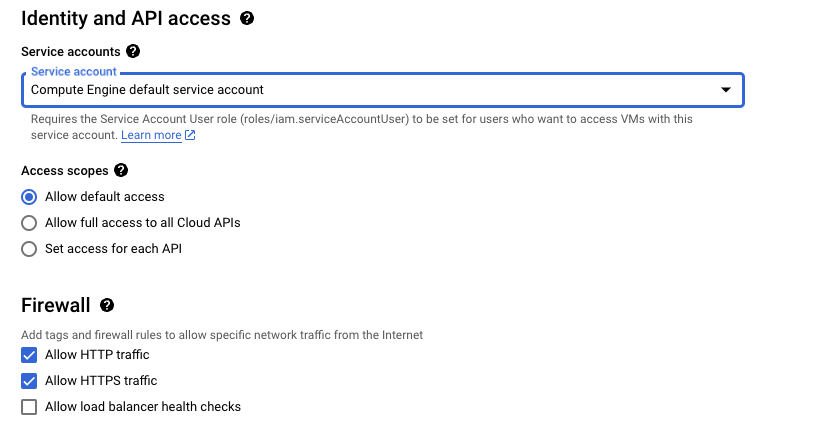
Allow HTTPS trafficفي قسم Firewall - قم بتكوين التخزين وفقًا لدليل الموارد
2
إنشاء المثيل
انقر Create ثم اعرض تفاصيل مثيلك.
3
Point domain to the instance
If you don’t have a domain, buy one from a DNS provider like GoDaddy
or just skip HTTPS for now.
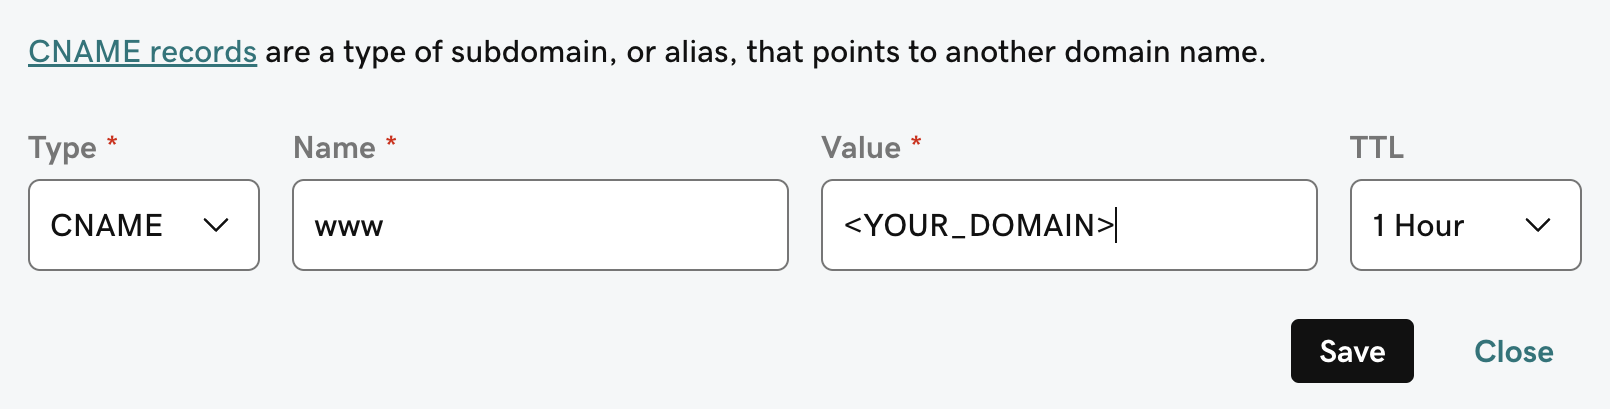
A and CNAME record to our DNS provider.The A record should be the subdomain that you would like to use for the Gorbit instance like prod.The CNAME record should be the same name with the www. in front resulting in www.prod pointing to the full
domain like prod.gorbit.app.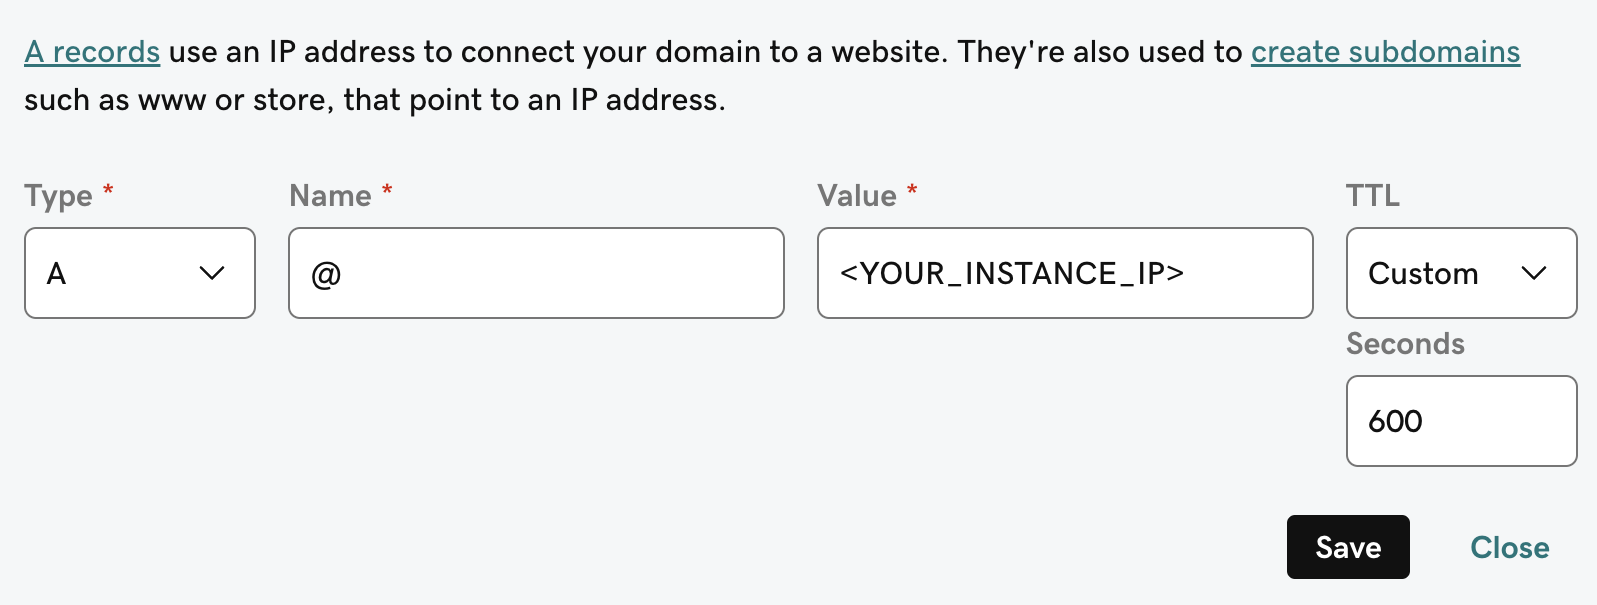
4
تثبيت متطلبات Gorbit
يتطلب Gorbit إذا كنت تستخدم CentOS أو Red Hat Linux أو ما شابه، قم بتشغيل ما يلي:
git و docker و docker compose.لتثبيتها على Debian GNU/Linux 12، قم بتشغيل ما يلي:Next Steps
Configure Authentication
Set up authentication for your Gorbit deployment with OAuth, OIDC, or SAML.
More Gorbit Configuration Options
Learn about all available configuration options for your Gorbit deployment.