الدليل
1
إنشاء تطبيق Okta
انتقل إلى Admin Console في Okta → Applications → Create App Integration.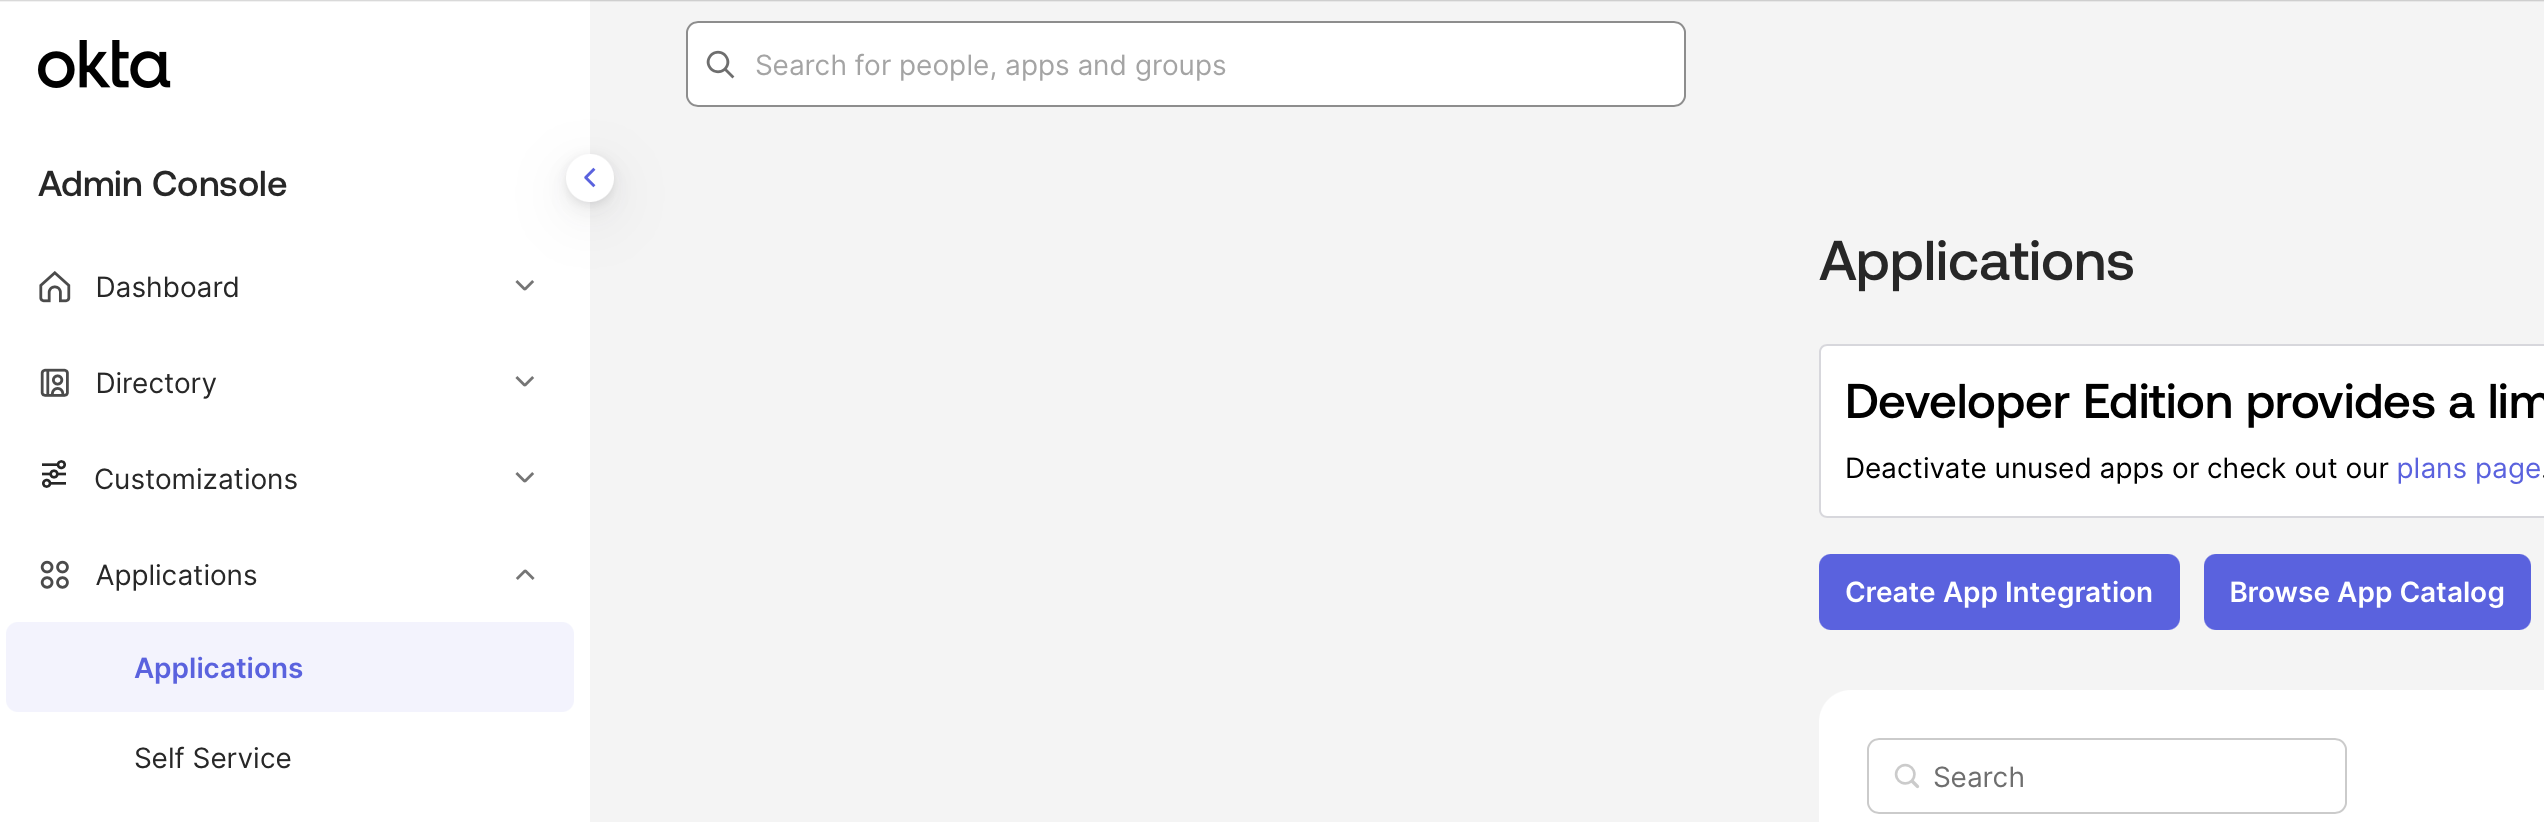
2
تكوين تطبيق Okta
اختر SAML 2.0.سمِّ تطبيقك أضف Audience URI (SP Entity ID)أضف Attribute Statement حيث Name هو 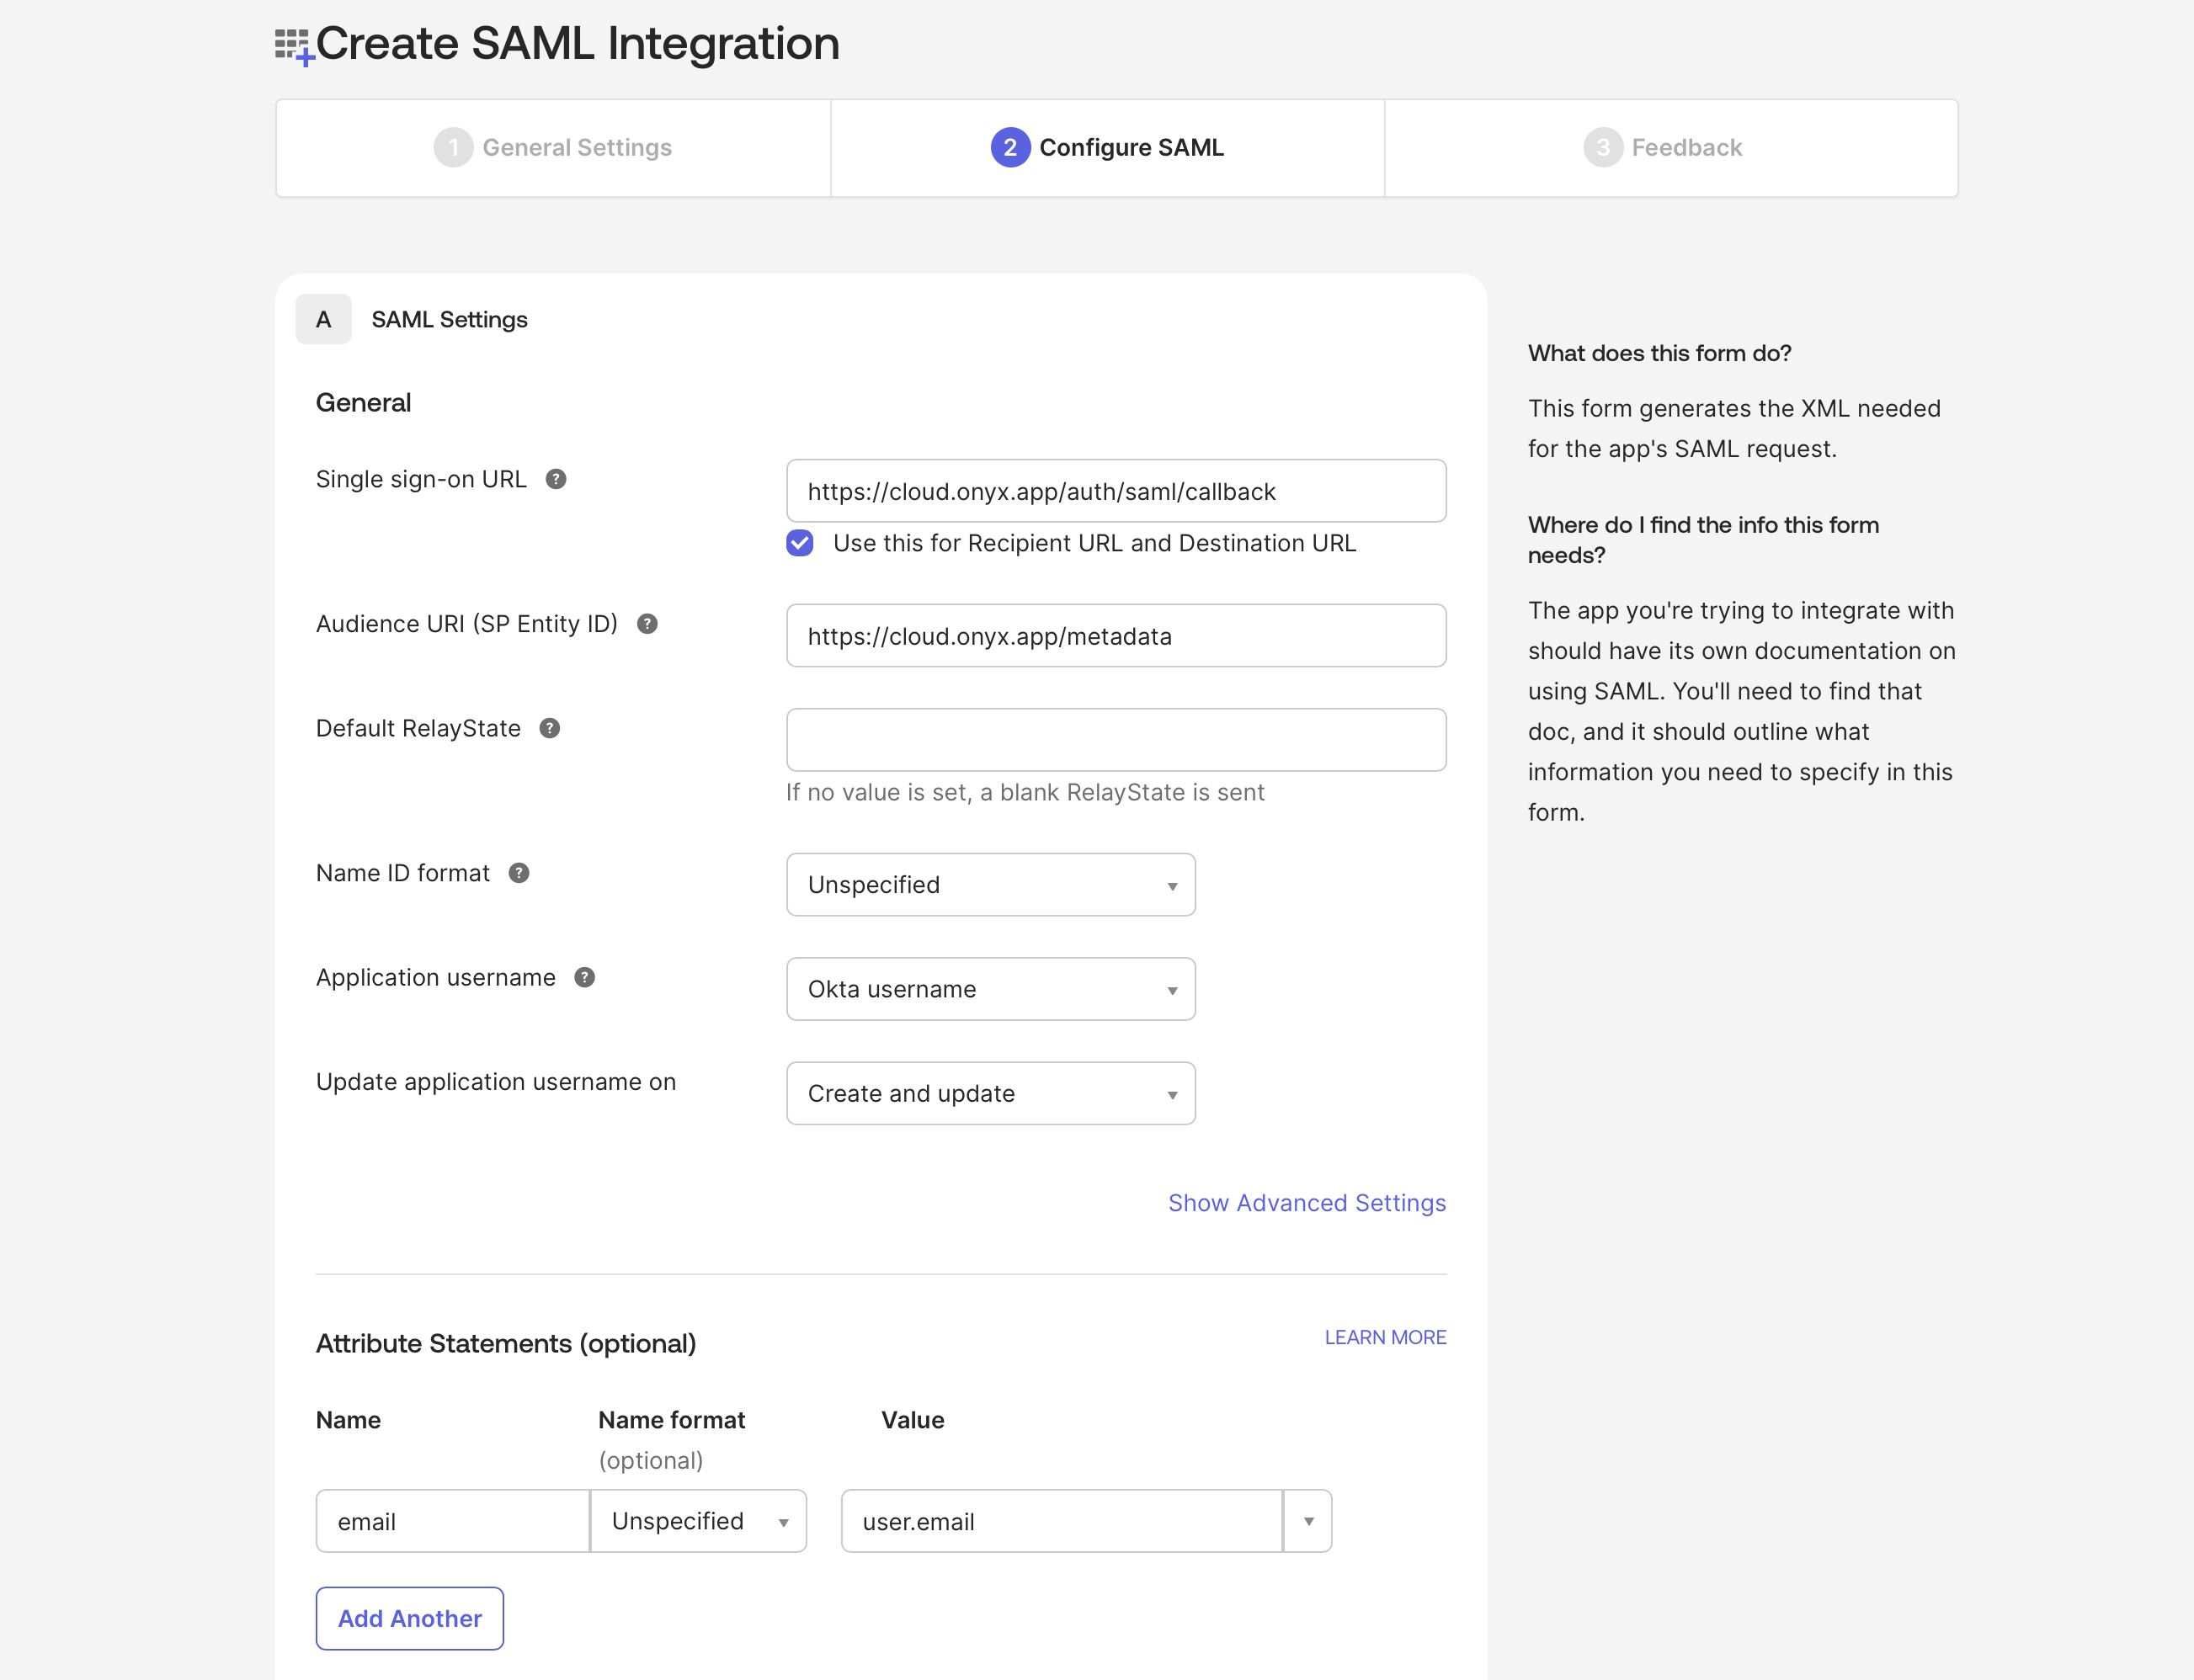
Gorbit وحمّل شعار Gorbit.أضف Sign sign-on URLemail و Value هو user.email.3
تعيين المستخدمين للتطبيق
أنشئ التطبيق وانتقل إلى تبويب Assignments لتعيين المستخدمين.
4
تكوين Gorbit لـ SAML
انتقل إلى عدّل ملف
gorbit/backend/ee/gorbit/configs/saml_config وانسخ ملف الإعدادات القالب.settings.yaml بالقيم التالية:idp: entityId
idp: entityId
اذهب إلى تبويب Sign On لتطبيقك في Okta، انسخ Metadata URL،
والصقه في متصفحك. يجب أن ترى XML مثل:انسخ قيمة
entityID والصقها في idp: entityId في settings.yaml.idp: x509cert
idp: x509cert
في XML من الخطوة السابقة، ابحث عن عنصر انسخ قيمة الشهادة والصقها في
ds:X509Certificate.idp: x509cert في settings.yaml.idp: singleSignOnService: url
idp: singleSignOnService: url
اذهب إلى تبويب General لتطبيقك في Okta وانسخ Embed Link.
sp: entityId
sp: entityId
هذا هو نفس Audience URI (SP Entity ID) الذي أضفته إلى تطبيق Okta.
sp: assertionConsumerService: url
sp: assertionConsumerService: url
هذا هو نفس Sign sign-on URL الذي أضفته إلى تطبيق Okta.
sp: x509cert
sp: x509cert
أنشئ شهادة موقعة ذاتيًا:انسخ قيمة الشهادة والصقها في
sp: x509cert في settings.yaml.5
ضبط متغيرات بيئة Gorbit
اضبط متغيرات البيئة التالية في ملف
.env أو values.yaml (Docker و Kubernetes، على التوالي)..env
إذا كنت تستخدم Docker ولكن ليس لديك ملف
.env،
انسخ gorbit/deployment/docker_compose/env.prod.template إلى ملف .env جديد في نفس المجلد.values.yaml