

- Google Cloud Console access
- Administrative permissions to configure OAuth applications
Guide
1
Create Google Cloud Project
Navigate to the Google Cloud Console Project Creation page
and fill in the required fields.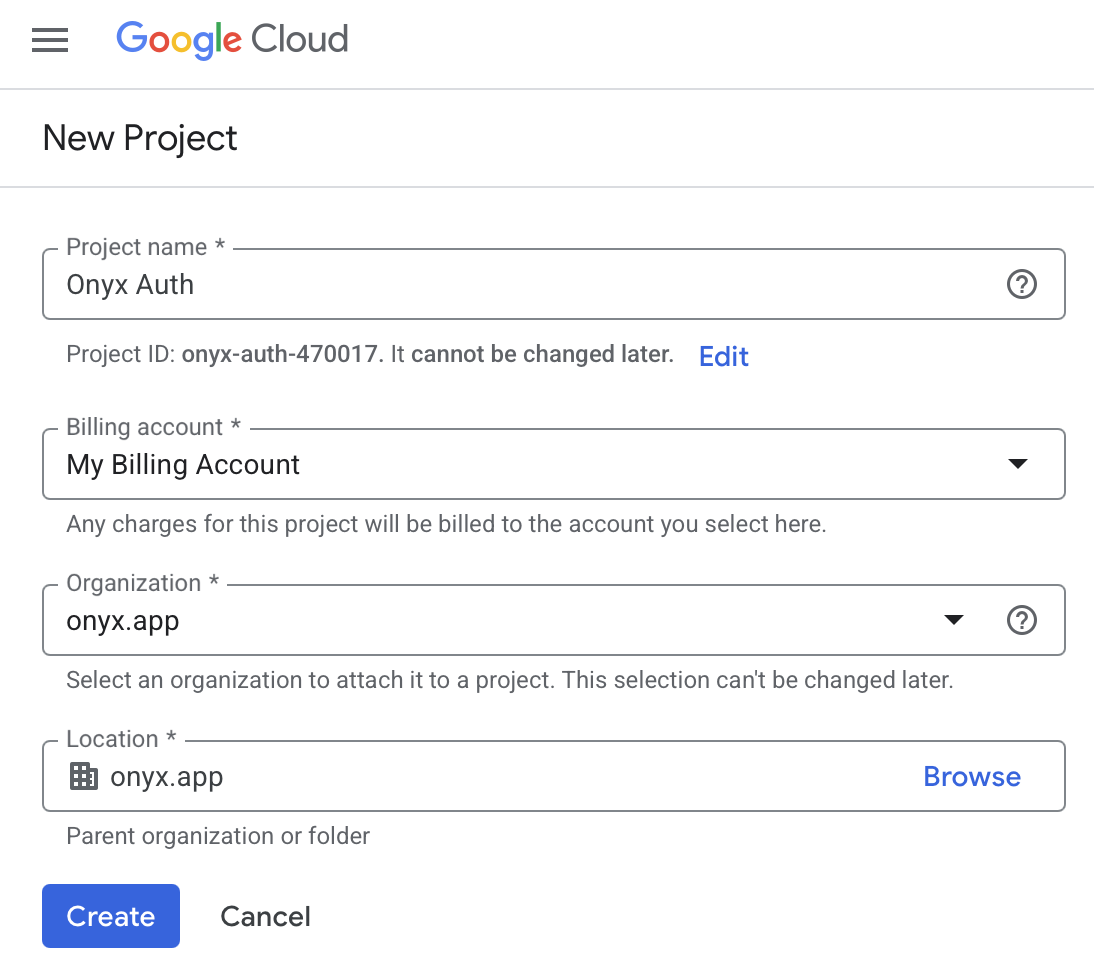
2
Enable Google People API
Navigate to APIs & Services and find Google People
API.Ensure your newly created project is selected in the top bar and click Enable.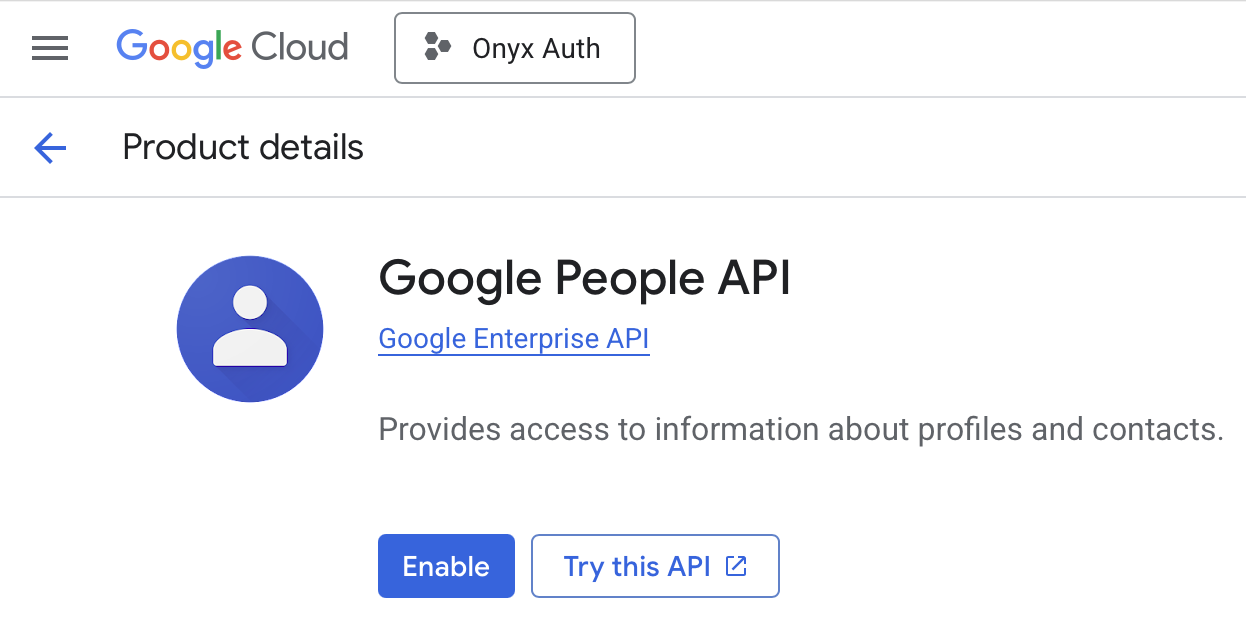
3
Create Google Auth Platform
Open the left sidebar and navigate to APIs & Services → OAuth Consent Screen.Once on the Overview page, click Get Started.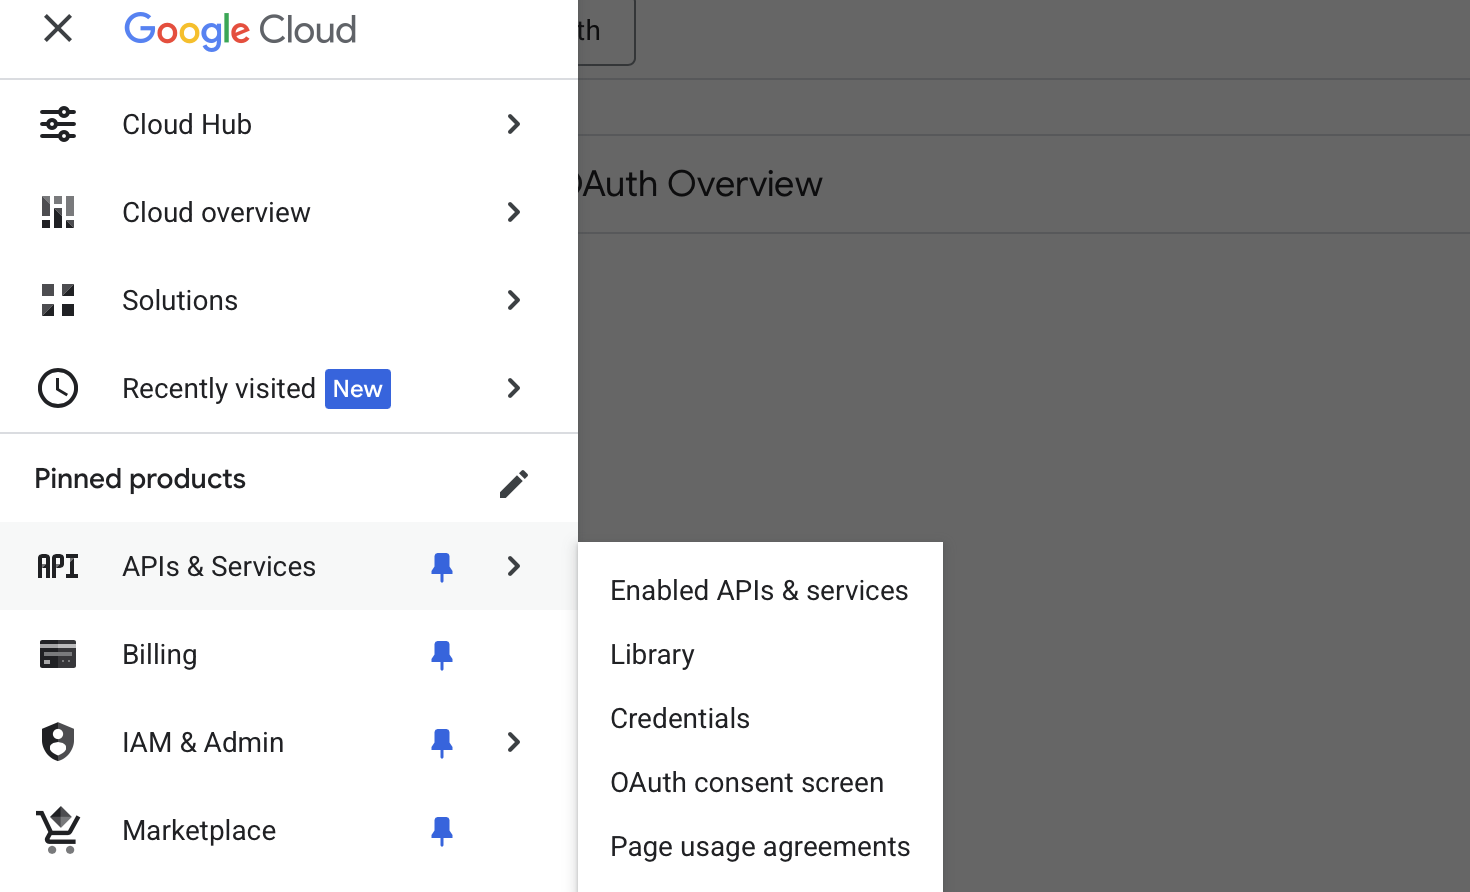
4
Configure OAuth Project & Consent Screen
Fill in the App name and User support email fields.Select your Audience. If you have a Google Workspace organization, select Internal. If not,
select External.Fill in any other required fields and finalize the configuration.
If you select External, you will need to add your users manually in the Audience tab under Test users.
5
Create OAuth Client
Navigate to APIs & Services → OAuth Consent Screen → Clients page.Click ”+ Create Client” and select Web Application.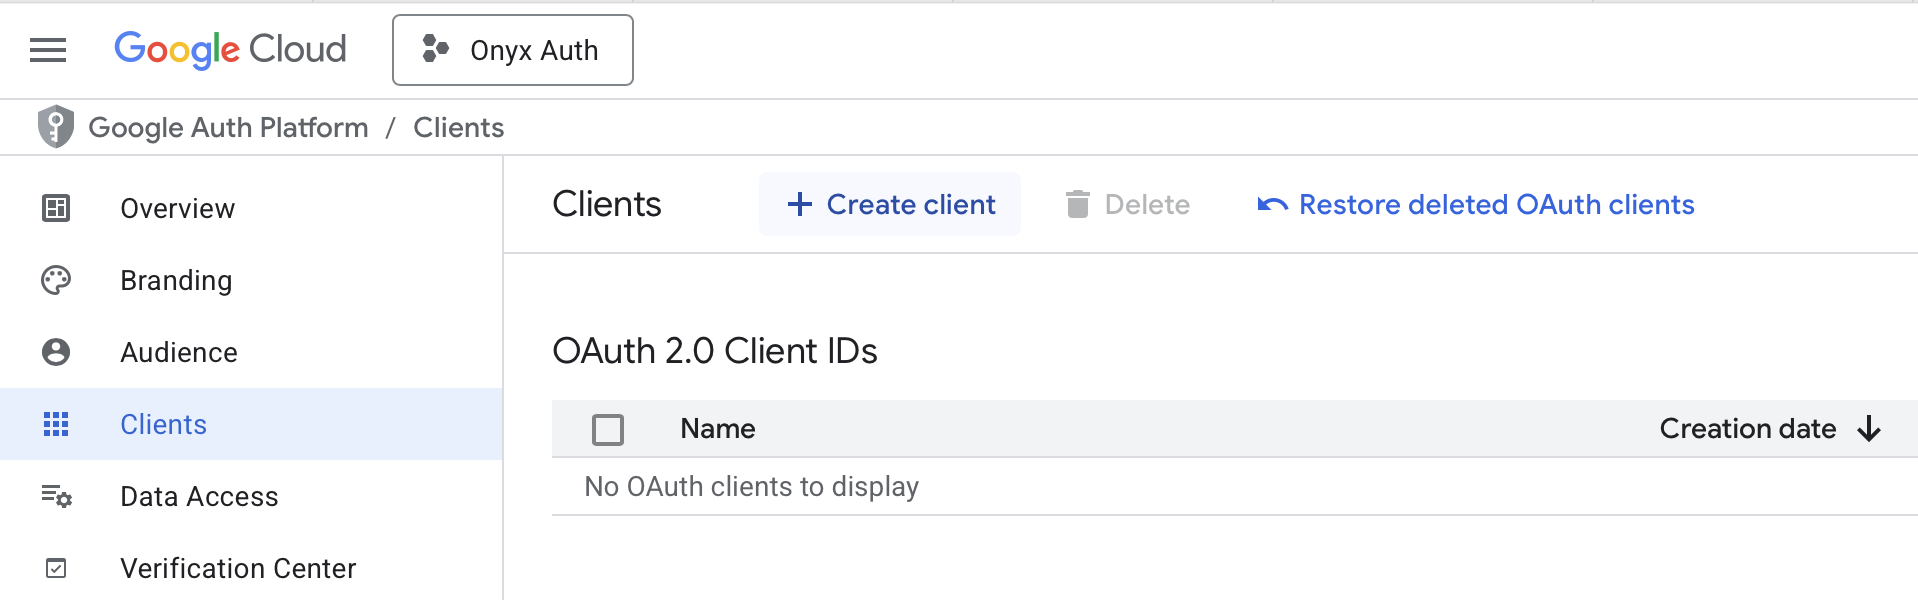
6
Configure OAuth Client
Name: If hosting Gorbit on a custom domain use: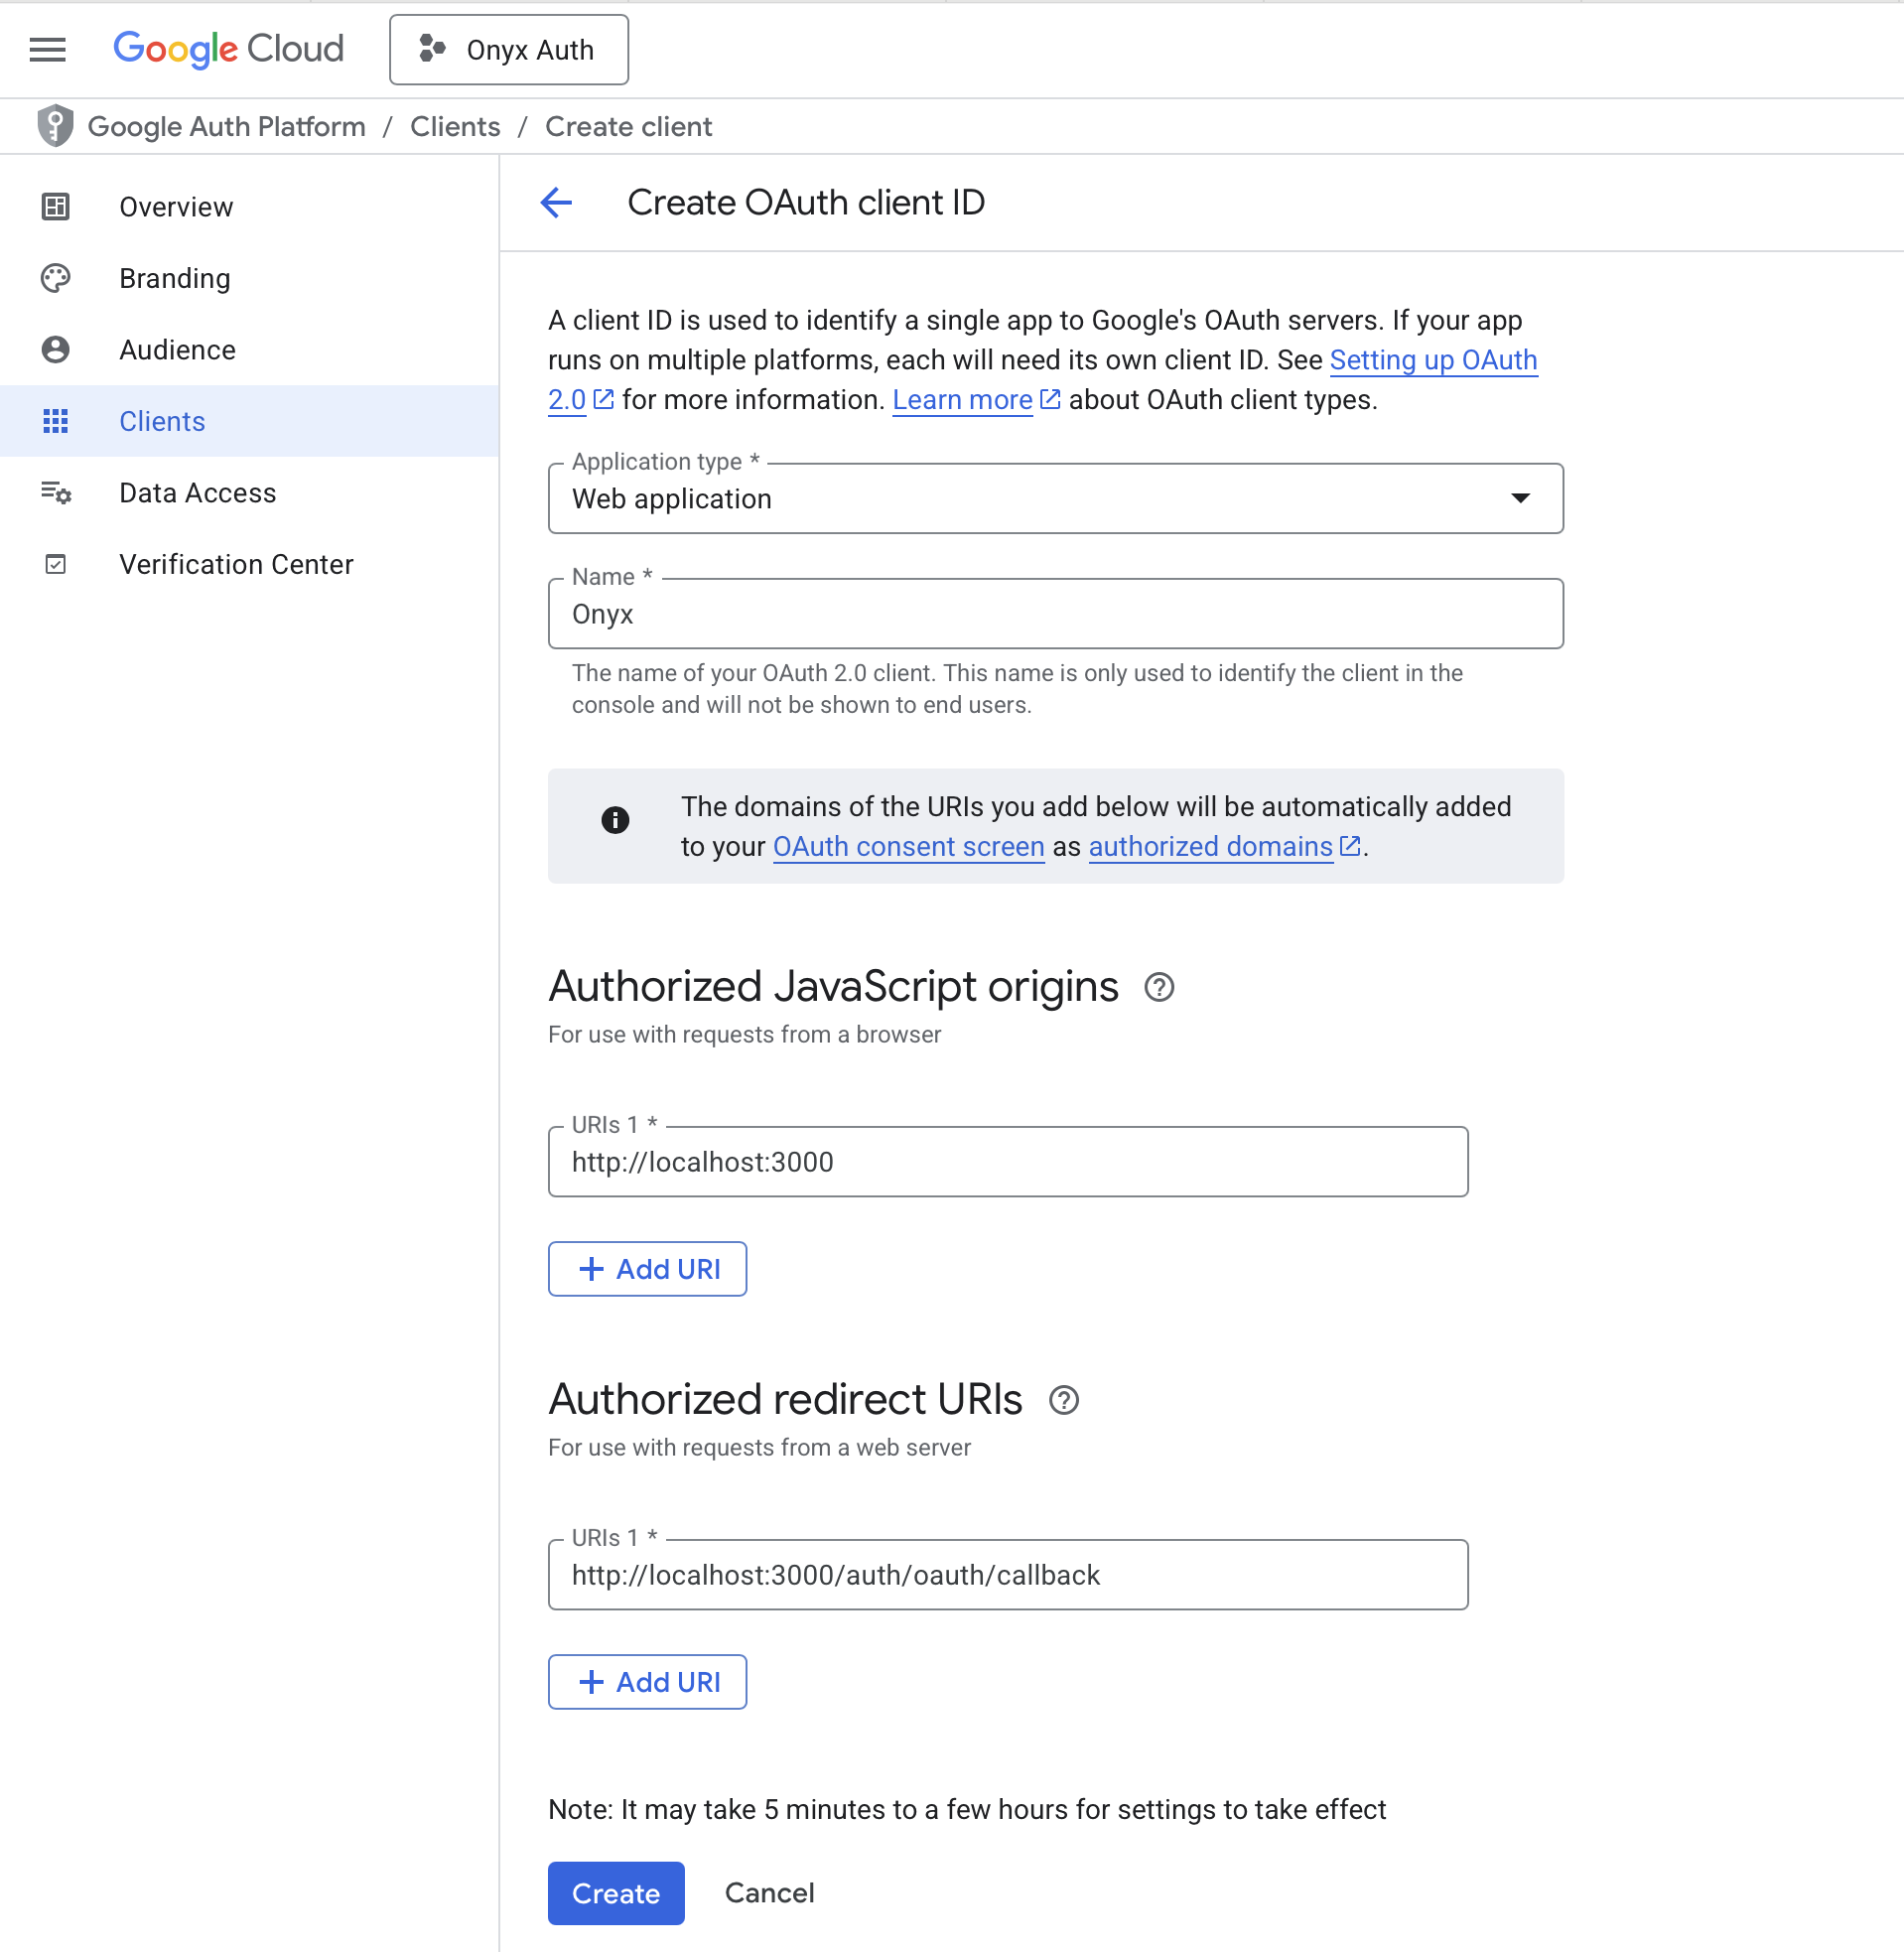
GorbitAuthorized JavaScript origins and Authorized redirect URIs depend on your deployment environment.If hosting Gorbit locally use:7
Save OAuth Credentials
Click Create → Download JSON to save the OAuth client credentials. Alternatively,
save the Client ID and Client Secret to a password or secrets manager.
8
Configure Gorbit
Configure Gorbit with the following environment variables in your
.env or values.yaml file (Docker and Kubernetes,
respectively)..env
If you’re using Docker but don’t have a
.env file,
copy gorbit/deployment/docker_compose/env.prod.template to a new .env file in the same directory.values.yaml